 by
by
Introduction:
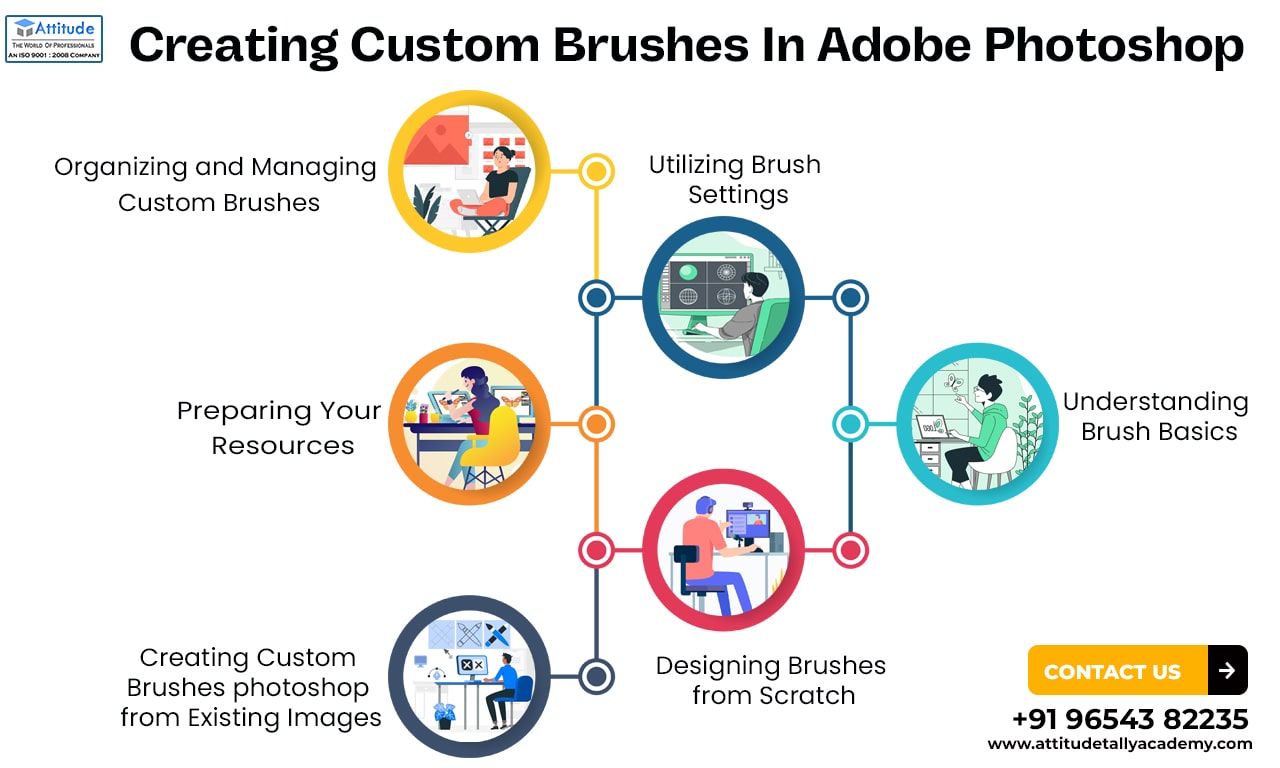
Adobe Photoshop is a powerful tool that offers an array of features for digital artists and designers. One of its most versatile features is the ability to create custom brushes. With custom brushes, you can add unique textures, patterns, and effects to your artwork, enhancing your creative possibilities. In this comprehensive guide, we will explore the process of creating custom brushes in Adobe Photoshop, enabling you to unleash your creativity and take your designs to the next level. In this blog we will discuss about how to create custom brushes in Adobe Photoshop.
Understanding Brush Basics:
Before diving into creating custom brushes, it’s essential to have a solid understanding of the basic brush settings in Photoshop. Familiarize yourself with brush shape, size, opacity, hardness, and blending modes. Experiment with different brush presents to explore their capabilities and variations.
Preparing Your Resources:
To create custom brushes, you’ll need to gather the resources you want to convert into brushes. These resources can include textures, patterns, or even scanned drawings. Ensure that your resources are of high quality and resolution for optimal results.
Creating Custom Brushes photoshop from Existing Images:
Photoshop allows you to turn any image into a custom brush quickly. Here’s how:
a. Open the desired image in Photoshop.
b. Select the area of the image you want to use as a brush.
c. Go to Edit -> Define Brush Present.
d. Provide a name for your brush and click OK.
Designing Brushes from Scratch:
If you want to add new brushes to Photoshop from scratch, Photoshop offers various tools and options to help you unleash your creativity. Here’s a step-by-step process:
a. Open a new document in Photoshop.
b. Use the drawing and painting tools to design your brush shape.
c. Fine-tune the brush settings, such as spacing, shape dynamics, scattering, and texture.
d. Once you’re satisfied with your brush design, go to Edit -> Define Brush Present.
e. Give your brush a name and click OK.
Now you learn how to add new brushes to photoshop.
Utilizing Brush Settings:
To maximize the versatility of your custom brushes, explore the various settings available in the brush panel. Experiment with opacity, flow, blending modes, and brush dynamics to achieve different effects and textures. Take advantage of the Shape Dynamics, Scattering, and Texture settings to add depth and variety to your brush strokes.
Organizing and Managing Custom Brushes:
As you create more custom brushes, it’s important to organize and manage them effectively for easy access. Photoshop allows you to create brush sets and load them when needed. Use descriptive names and proper categorization to keep your brush library organized and efficient.
Sharing and Downloading Custom Brushes:
The Photoshop community is rich with talented artists who share their custom brushes online. Explore websites, forums, and online communities dedicated to Photoshop brushes to discover a wide range of brushes created by others. You can also share your own brushes, allowing fellow artists to benefit from your creations.
Conclusion:
Creating custom brushes in Adobe Photoshop opens up endless possibilities for artistic expression and design. Whether you’re using existing resources or designing brushes from scratch, the ability to customize and manipulate brushes empowers you to create unique and captivating artwork. By understanding the basic brush settings, experimenting with different options, and organizing your brushes effectively, you can enhance your workflow and unlock new creative horizons in your digital art journey. In this blog we have understood how to Creating Custom brushes In Adobe Photoshop.