
 by
by Once in a while, Excel appears to be unrealistic. I should simply enter a formula, and practically anything I’d ever need to do physically should be possible naturally. Need to combine two sheets with comparative data? Excel can do it. Need to do straightforward math? Excel can do it. Need to join data in various cells? Excel can do it.
On the off chance that you experience a circumstance where you have to physically refresh your data, you’re likely passing up a great opportunity for a formula that can do it for you. Before putting in a long stretch of time tallying cells or copying and gluing data, search for a handy solution on Excel – you’ll likely discover one.
In the soul of working all the more effectively and staying away from dull, manual work, here are a couple of Excel traps to kick you off with Advance MS Excel Course in Yamuna Vihar. (Also, to all the Harry Potter fans out there … the pleasure is all mine ahead of time.)
Step by step instructions to Use Excel
In case you’re recently beginning with Excel, there are a couple of fundamental charges that we propose you get comfortable with. These are things like:
1. Making another spreadsheet starting with no outside help.
2. Executing essential calculations in a spreadsheet, such as including, subtracting, increasing, and separating in a spreadsheet.
3. Composing and arranging column content and titles.
4. Excel’s auto-fill highlights.
5. Including or erasing single columns, rows, and spreadsheets. Beneath, we’ll get into how to include things like various columns and rows.
6. Keeping column and row titles noticeable as you look past them in a spreadsheet, so you recognize what data you’re filling as you move additionally down the report.
5 Excel Tips to Try :
1) Pivot Tables
Turn Tables are utilized to revamp data in a spreadsheet. They won’t change the data that you have, however they can aggregate up qualities and think about various data in your spreadsheet, contingent upon what you’d like them to do.
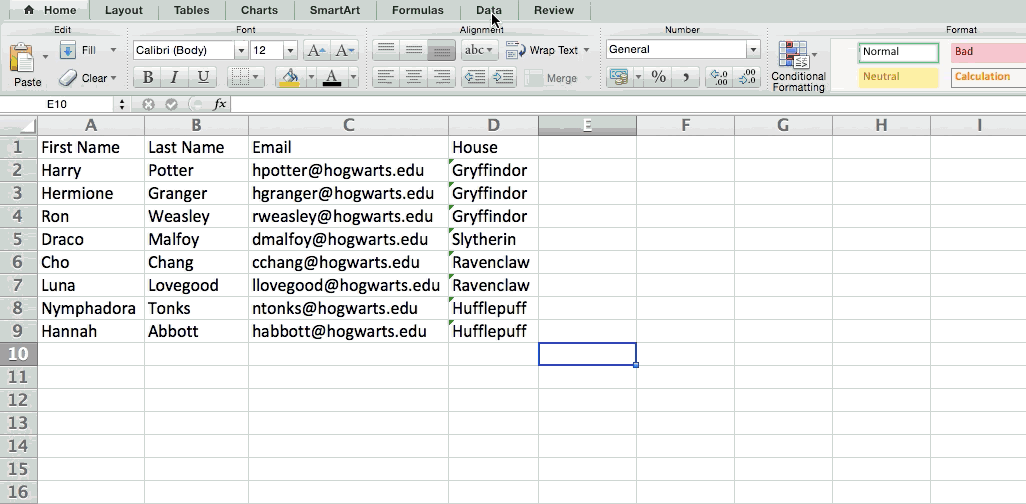
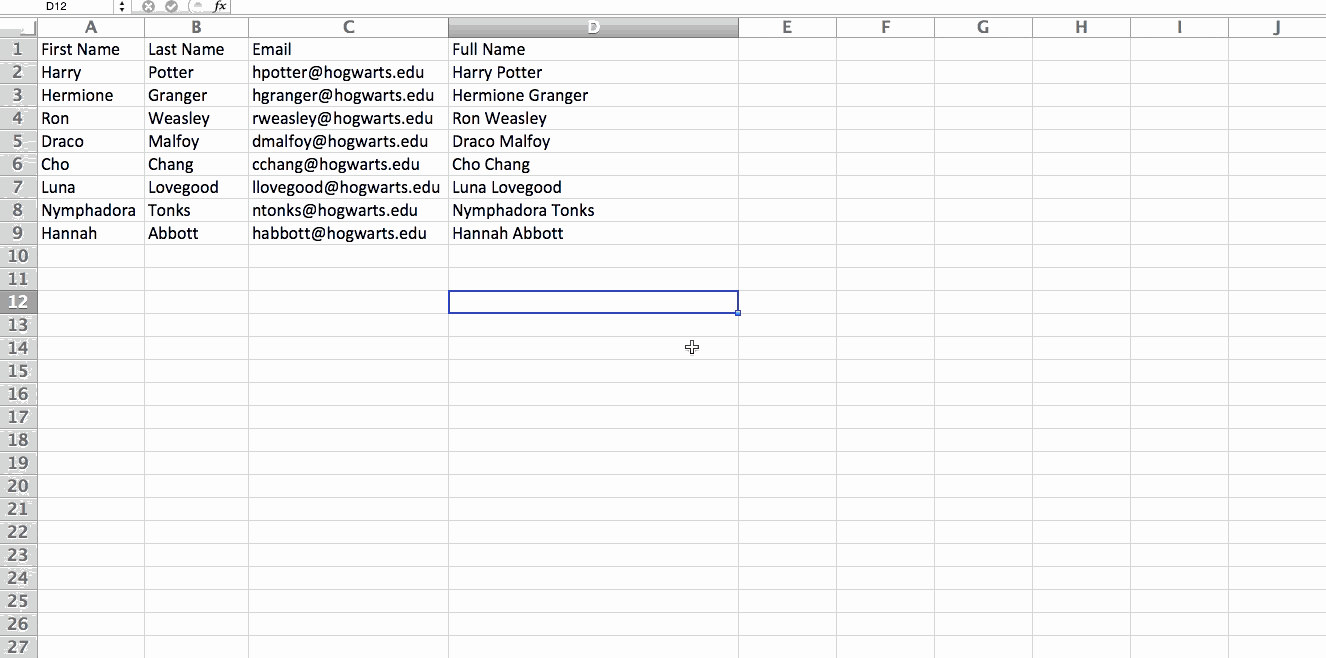
We should investigate an illustration. Suppose I need to investigate what number of individuals are in each house at Hogwarts. You might feel that I have relatively little data, however for longer data sets, this will prove to be useful.
To make the Pivot Table, I go to Data > Pivot Table. Excel will naturally populate your Pivot Table, yet you can simply change around the request of the data. At that point, you have four choices to look over.
1. Report Filter: This enables you to just take a gander at specific rows in your dataset. For instance, in the event that I needed to make a filter by house, I could decide to just incorporate understudies in Gryffindor rather than all understudies.
2. Column Labels: These could be your headers in the dataset.
3. Row Labels: These could be your rows in the dataset. Both Row and Column names can contain data from your columns (e.g. Initially Name can be dragged to either the Row or Column name – it just relies upon how you need to see the data.)
4. Esteem: This area enables you to take a gander at your data in an unexpected way. Rather than simply pulling in any numeric esteem, you can whole, tally, normal, max, min, check numbers, or do a couple of different controls with your data. Truth be told, naturally, when you drag a field to Value, it generally does a check.
Since I need to include the quantity of understudies each house, I’ll go to the Pivot Table and drag the House column to both the Row Labels and the Values. This will entirety up the quantity of understudies related with each house.
2) Add More Than One New Row or Column
As you play around with your data, you may discover you’re continually expecting to include more rows and columns. Once in a while, you may even need to include several rows. Doing this one-by-one would be super monotonous. Fortunately, there’s dependably a less demanding way.
To include different rows or columns in a spreadsheet, feature a similar number of prior rows or columns that you need to include. At that point, right-click and select “Embed.”
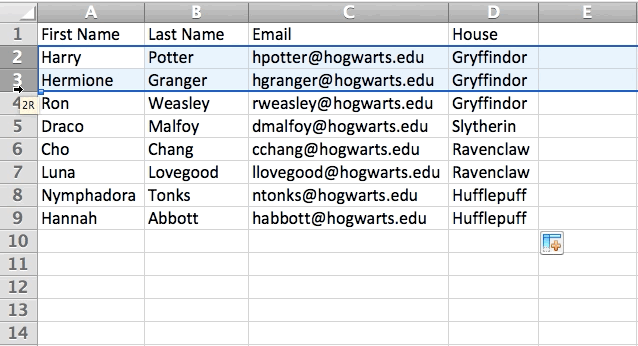
In the case beneath, I need to include an extra three rows. By featuring three rows and after that clicking embed, I’m ready to include an extra three clear rows into my spreadsheet rapidly and effectively.
3) Filters
When you’re taking a gander at expansive data sets, you don’t for the most part should take a gander at each and every row in the meantime. Here and there, you just need to take a gander at data that fit into specific criteria. That is the place filters come in.
Filters enable you to pare down your data to just take a gander at specific rows at one time. In Excel, a filter can be added to every column in your data – and from that point, you would then be able to pick which cells you need to see on the double.
How about we investigate the case beneath. Include a filter by clicking the Data tab and selecting “Filter.” Clicking the arrow next to the column headers and you’ll have the capacity to pick whether you need your data to be sorted out in rising or sliding request, and also which particular rows you need to appear.
Master Tip: Copy and paste the qualities in the spreadsheet when a Filter is on to do extra investigation in another spreadsheet.
4) Remove Duplicates
Bigger data sets have a tendency to have copy content. You may have a rundown of various contacts in an organization and just need to see the quantity of organizations you have. In circumstances like this, expelling the copies comes in very helpful.
To evacuate your copies, feature the row or column that you need to expel copies of. At that point, go to the Data tab, and select “Expel Duplicates” (under Tools). A fly up will seem to affirm which data you need to work with. Select “Expel Duplicates,” and you’re ready.
You can likewise utilize this component to evacuate a whole row in light of a copy column esteem. So in the event that you have three rows with Harry Potter’s data and you just need to see one, at that point you can select the entire dataset and after that expel copies in view of email. You’re coming about rundown will have just interesting names with no copies.
5) Transpose
When you have low rows of data in your spreadsheet, you may choose you really need to change the things in one of those rows into columns (or the other way around). It would require a great deal of investment to copy and paste every individual header – however what the transpose include enables you to do is essentially move your row data into columns, or the a different way.
Begin by featuring the column that you need to transpose into rows. Right-click it, and after that select “Copy.” Next, select the cells on your spreadsheet where you need your first row or column to start. Right-click on the cell, and afterward select “Paste Special.” A module will show up – at the base, you’ll see a choice to transpose. Watch that crate and select OK. Your column will now be exchanged to a row or the other way around.