 by
by
Welcome to the Ultimate Guide to Cartooning in Illustrator! In this guide, we’ll take you through the process of creating a cartoon from start to finish using Adobe Illustrator. Whether you’re a beginner or an experienced artist, you’ll find tips and techniques here to help you create amazing cartoons.
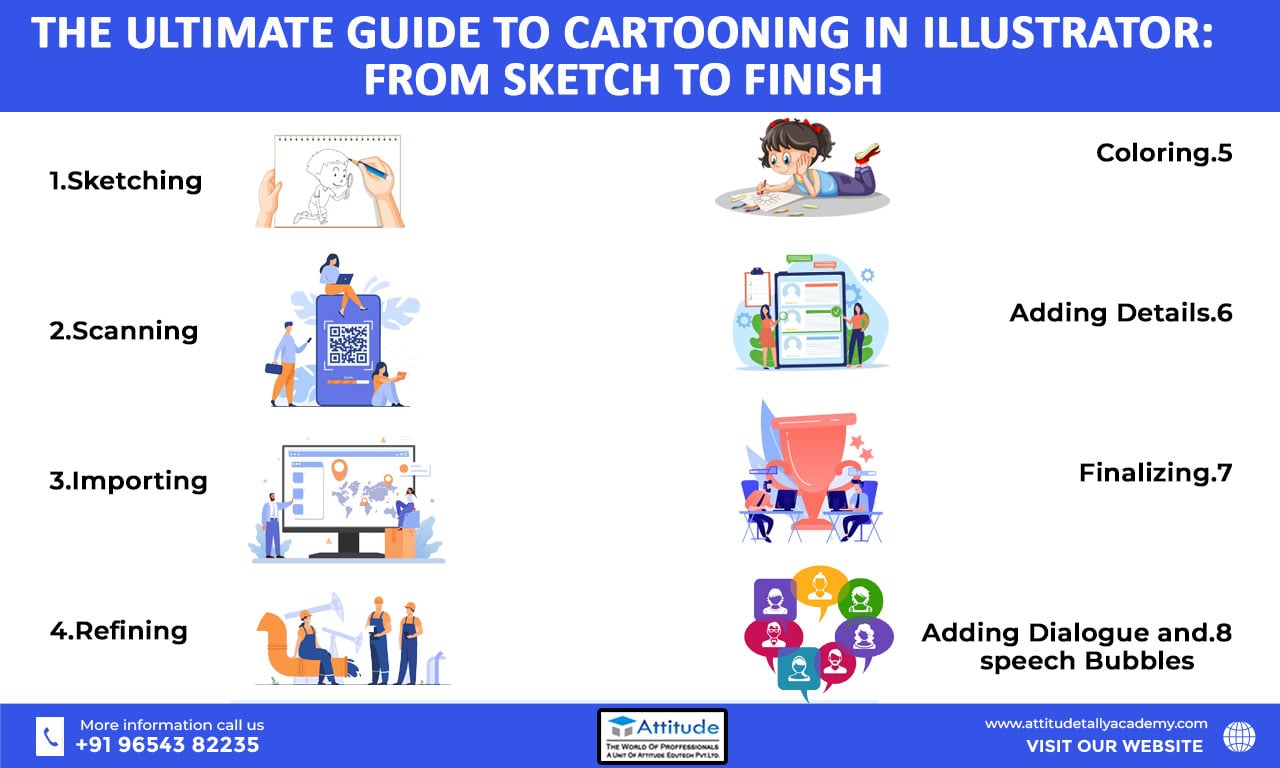
Step 1: Sketching
The first step in creating a cartoon is to sketch out your ideas. You can use a pencil and paper, or a digital tablet if you prefer. Sketch out your characters, backgrounds, and any other elements you want to include in your cartoon.
Step 2: Scanning
Once you have your sketches, scan them into your computer. You can use a scanner or a smartphone app to digitize your sketches. Save your scanned images as a high-resolution file so you can easily import them into Illustrator.
Step 3: Importing
In Adobe Illustrator, create a new document and import your scanned images. Use the Image Trace feature to convert your sketches into vector art. This will make it easier to edit and manipulate your artwork.
Step 4: Refining
Now that your sketches are in Illustrator, you can begin refining them. Use the Pen tool to create clean lines and shapes. You can also use the Shape Builder tool to combine shapes and create new ones.
Step 5: Colouring
Once you have your outlines, it’s time to add color to your cartoon. Use the Eyedropper tool to select colors from your reference images or create your own color palette. Use the Live Paint Bucket tool to fill in your shapes with color.
Step 6: Adding Details
Now that you have your basic shapes and colors, it’s time to add details to your cartoon. Use the Brush tool to create shading and texture. Use the Gradient tool to create smooth transitions between colors. You can also use the Pen tool to add details like hair, wrinkles, and other textures.
Step 7: Finalizing
Once you’re happy with your cartoon, it’s time to finalize it. Make sure all your layers are organized and labeled. Use the Save for Web feature to export your cartoon as a PNG or JPEG file. Congratulations, you’ve created a cartoon in Illustrator!
Step 8: Adding Dialogue and Speech Bubbles
To bring your cartoon to life, you can add dialogue and speech bubbles to your characters. Use the Type tool to create text boxes for dialogue. Choose a font that suits the style of your cartoon. You can adjust the size, color, and position of the text to fit within speech bubbles or captions.
Conclusion
With these tips and techniques, you’ll be able to create amazing cartoons in Illustrator. Remember to practice and experiment to find your own style and techniques. Happy cartooning!