 by
by Introduction
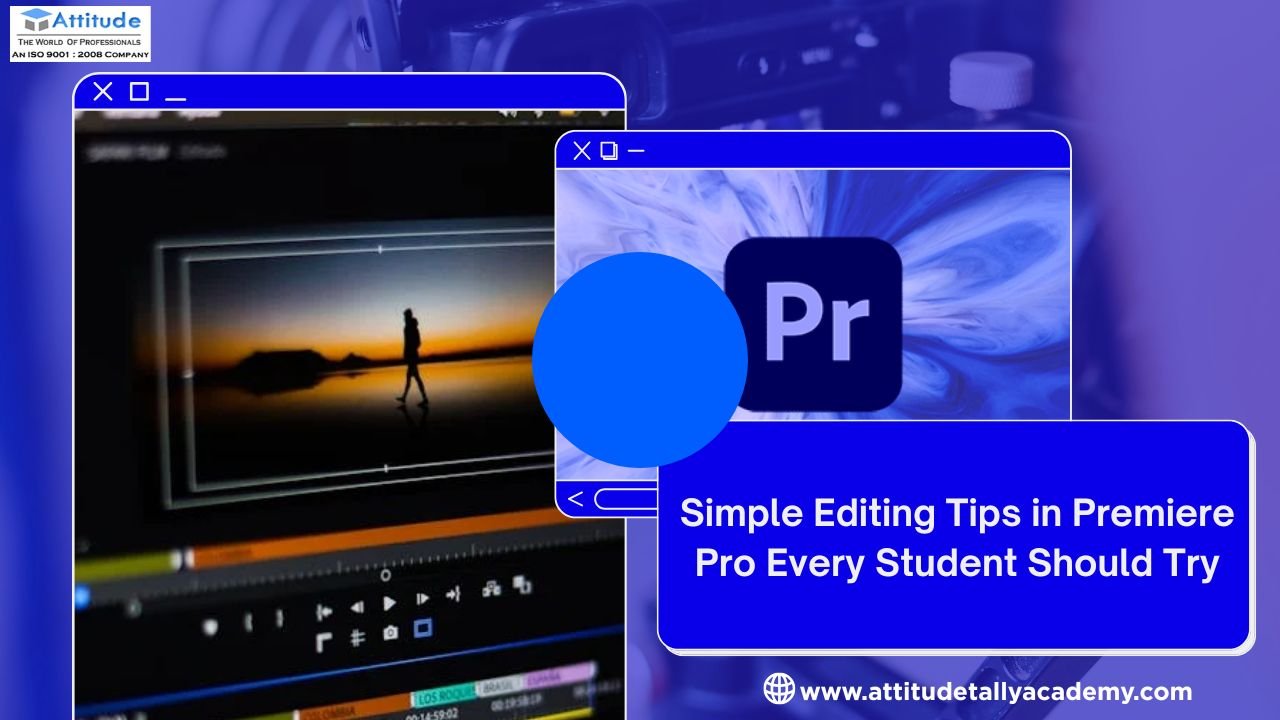
If you’re just stepping into the world of video editing, Adobe Premiere Pro is one of the best tools to start with. It’s professional, powerful, and widely used in the industry — from YouTube creators to film editors. For beginners learning video editing, understanding the basics and applying smart editing techniques can make your work look polished and professional. Whether you’re studying at a Video Editing or learning through online tutorials, mastering these simple tips will help you take your first steps with confidence.
1. Organize Your Project Before Editing
Good editing starts with a well-organized project. Create folders (called “bins” in Premiere Pro) for your video clips, audio, images, and effects. This saves time and helps you work efficiently, especially when you’re editing longer projects. Students learning at a Video Editing are often taught that keeping your files structured prevents confusion later on and boosts your workflow speed.
2. Use Keyboard Shortcuts
Keyboard shortcuts are a real time-saver for any editor. Common ones like “C” for cutting (razor tool), “V” for selection, and “Ctrl + Z” for undo can make your editing process smoother and faster. You can even customize shortcuts based on your comfort level. Editors in training at a Video Editing Classes in Uttam Nagar often practice shortcuts regularly to improve their editing speed.
3. Learn Basic Transitions and Effects
While flashy transitions look attractive, simplicity often creates a more professional result. Start with basic transitions like cross-dissolve or dip-to-black to make your video flow naturally. Effects such as color correction, brightness adjustment, and stabilization can also enhance the overall quality of your video.
4. Perfect the Audio
A great video isn’t just about visuals — sound plays a huge role. Make sure your background music doesn’t overpower the voice or dialogue. Use the “Audio Gain” and “Essential Sound” panels in Premiere Pro to balance levels and reduce background noise.
5. Color Correction and Grading
Color correction helps maintain consistency, while color grading adds mood and style. Try adjusting the brightness, contrast, and saturation to make your clips look natural. Premiere Pro’s Lumetri Color panel is a great tool for this. Beginners can experiment with presets and gradually move toward manual color correction for finer control.
6. Export Settings Matter
Once your video is ready, export it using the right settings for your platform. If it’s for YouTube, use H.264 format for a good balance between quality and file size. Choose the correct resolution and frame rate based on your footage. Students learning at a Video Editing Coaching Centre in Yamuna Vihar often realize that proper export settings make their final video crisp, clear, and ready to share.
7. Keep Practicing and Experimenting
The best way to improve your editing skills is through consistent practice. Try editing different types of videos — travel, educational, vlogs, or short films. Every project teaches you something new, from pacing to creative storytelling.
Conclusion
Learning video editing might seem challenging at first, but with the right techniques and tools, it becomes an exciting creative journey. Organizing your workflow, mastering shortcuts, improving sound, and focusing on color correction are essential skills for every beginner. Whether you’re studying at a Video Editing Centre in Yamuna Vihar or joining a Video Editing Coaching Centre in Uttam Nagar, keep experimenting, stay patient, and enjoy the process — because every great editor started with small, simple edits.visit us
Suggested Links: –